Build and run of a simple hello world application on the Cortex®-M4/7
Building the firmware
Please read the chapter ‘Run a demo using Arm GCC’ from the document ‘Getting Started with MCUXpresso SDK for EVK-MIMX8xx’.
To build the hello world sample, open a new terminal window and change the directory to the example application project directory, which has a path similar to the following:
<sdk_install_dir>/boards/<board_name>/<example_type>/<application_name>/armgcc
In case of the hello world sample the directory is:
<sdk_install_dir>/boards/evkmimx8mm/demo_apps/hello_world/armgcc
run one of the available build scripts, for example:
./build_debug.sh
The script should end with the messages:
[100%] Linking C executable debug/hello_world.elf
Memory region         Used Size  Region Size  %age Used
    m_interrupts:         576 B        576 B    100.00%
          m_text:       13516 B     130496 B     10.36%
          m_data:        2224 B       128 KB      1.70%
          m_data2:          0 GB        16 MB      0.00%
[100%] Built target hello_world.elf
Deploying the firmware to the target
To start the firmware, we have to deploy it first to the target’s memory. That could be basicly, the internal emmc device of the SOM or the SD-card of the base board. The following example shows, how to deploy the firmware to the internal emmc device.
After building the yocto Linux and programming it with the uuu-tool to the target, we can examine the programmed partitions inside U-Boot:
part list mmc ${mmcdev}
Partition Map for MMC device 0  --   Partition Type: EFI
Part   Start LBA       End LBA         Name
       Attributes
       Type GUID
       Partition GUID
       1     0x00000800      0x000107ff      "boot"
       attrs:  0x0000000000000000
       type:   ebd0a0a2-b9e5-4433-87c0-68b6b72699c7
       type:   data
       guid:   d117f98e-6f2c-d04b-a5b2-331a19f91cb2
       2     0x00010800      0x0075fbff      "rootfs"
       attrs:  0x0000000000000000
       type:   ebd0a0a2-b9e5-4433-87c0-68b6b72699c7
       type:   data
       guid:   0cc66cc0-5458-384d-1610-726f6f746673
The “boot”-partition contains the Linux- image and device trees. To store the firmware binary into that partition we use the USB Mass Storage U-Boot function to mount that partition to our Linux host PC:
ums 0 mmc ${mmcdev}:1
sudo mount /dev/sdX /mnt
Copy the file hello_world.bin to the mounted boot-partition.
Unmount this partition:
sudo umount /mnt
Stop the ums-device with CTRL + C in U-Boot.
List the contents of the boot-partition from U-Boot to check it:
ls mmc ${mmcdev}
15759368   Image
37178   imx8mm-tx8m-1610.dtb
41437   imx8mm-tx8m-1610-mipi-mb.dtb
14192   hello_world.bin

4 file(s), 0 dir(s)
Starting the firmware
The hello-world-sample uses the pins UART4_TXD and UART4_RXD to communicate to the outside world. As you can see in the source file pin_mux.c, the Cortex®-M4/7 firmware handles the setup of the pinmux- and the pad-registers by itself. That means, if you will start a Linux image on the Cortex®-A53 later, you have to ensure that the devices that are used by the Cortex®-M4/7 firmware are disabled in the Linux device tree.
Looking into the TX8M-Datasheet document, you will find these two signals on the module pins 65 and 66. Please note, these are 3,3V pins. Use a second TTL to USB Serial Converter cable to connect to the UART4 interface. Start a serial terminal on your host, e.g. minicom, with the parameters 115200 -8N1.
Three steps are necessary to start the firmware:
copy the firmware from mmc device into local memory
copy the firmware from local memory into the TCM of the Cortex®-M4/7
start the firmware from U-Boot with the bootaux command
load mmc ${mmcdev}:1 ${loadaddr} hello_world.bin
cp.b ${fileaddr} 0x7e0000 0x20000
bootaux 0x7e0000
## Starting auxiliary core stack = 0x20020000, pc = 0x1FFE030D...
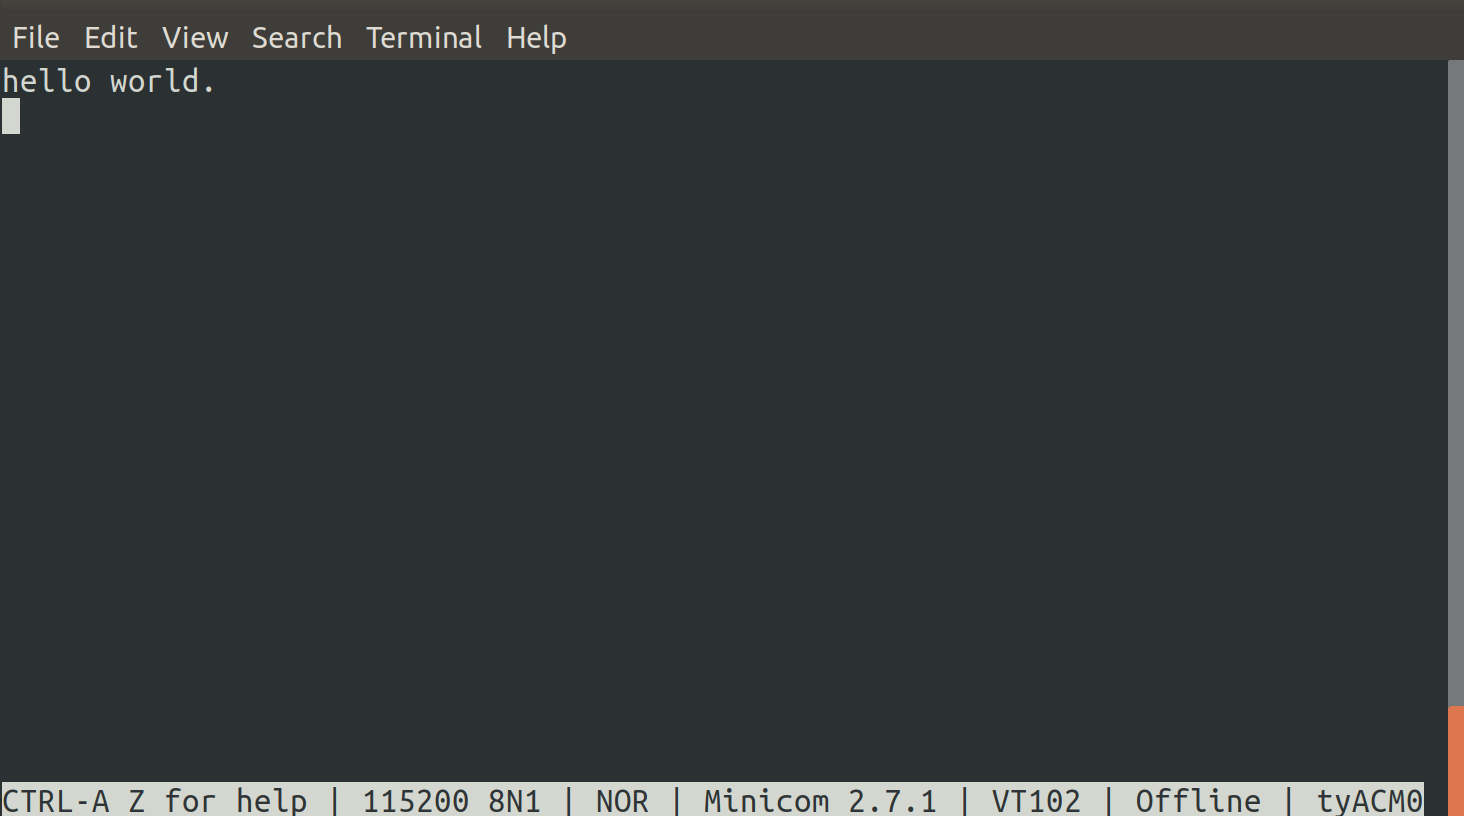
“hello world.” will be printed on your UART4 terminal window: