WiFi/BT Guide
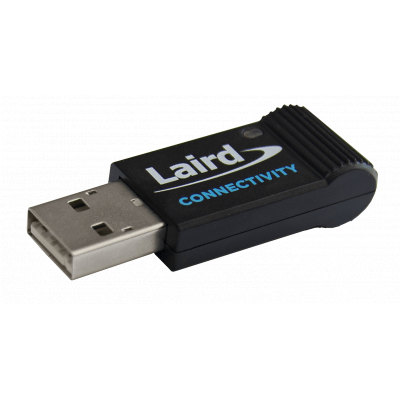
Laird USB WiFi Module
Hint
Make sure to order the right Laird Wifi stick. There are different versions available.
Part Number: 450-00137
(Sterling LWB5+)
This is the tested and supported WiFi USB stick for all our modules.
Danger
On STM32 processors the support for this usb-stick is in experimental state. E.g. Bluetooth is currently not working.
Build
The WiFi and Bluetooth drivers for Sterling LWB5+ module have to be enabled in your Yocto BSP.
If you’re not familiar with Yocto first read the Yocto Guide.
Clone the meta-laird-cp layer into the BSP’s directory where to other layers are:
cd <bsp-dir>/<layers-dir>
git clone https://github.com/Ezurio/meta-summit-radio .
cd meta-summit-radio
git checkout lrd-12.103.0.x
Set up your build directory and add the layer to your build-directory’s conf/bblayers.conf:
For yocto releases 4.0 (kirkstone) and higher:
bitbake-layers add-layer $BSPDIR/sources/meta-summit-radio/meta-summit-radio
For older yocto releases:
bitbake-layers add-layer $BSPDIR/sources/meta-summit-radio/meta-summit-radio-pre-3.4
Add lines to conf/local.conf:
(...)
DISTRO_FEATURES:append = " wifi lwb-wifi"
DISTRO_FEATURES:append = " bluetooth lwb-bluetooth"

BBMASK += " \
   meta-laird-cp/recipes-packages/openssl \
   meta-laird-cp/recipes-packages/.*/.*openssl10.* \
"

PREFERRED_PROVIDER_wpa-supplicant = "summit-supplicant-lwb-if"
PREFERRED_PROVIDER_wpa-supplicant-cli = "summit-supplicant-lwb-if-cli"
PREFERRED_PROVIDER_wpa-supplicant-passphrase = "summit-supplicant-lwb-if-passphrase"
PREFERRED_RPROVIDER_wireless-regdb-static = "wireless-regdb"

IMAGE_INSTALL:append = " \
   kernel-module-lwb-if-backports \
   lwb5plus-usb-div-firmware \
   summit-supplicant-lwb-if \
"

LWB_REGDOMAIN = "DE"
Compile the desired image and flash it to your board.
Usage
Plug-in the USB-stick and boot your previously compiled image.
How WiFi and Bluetooth are connected is described below - Connecting WiFi.
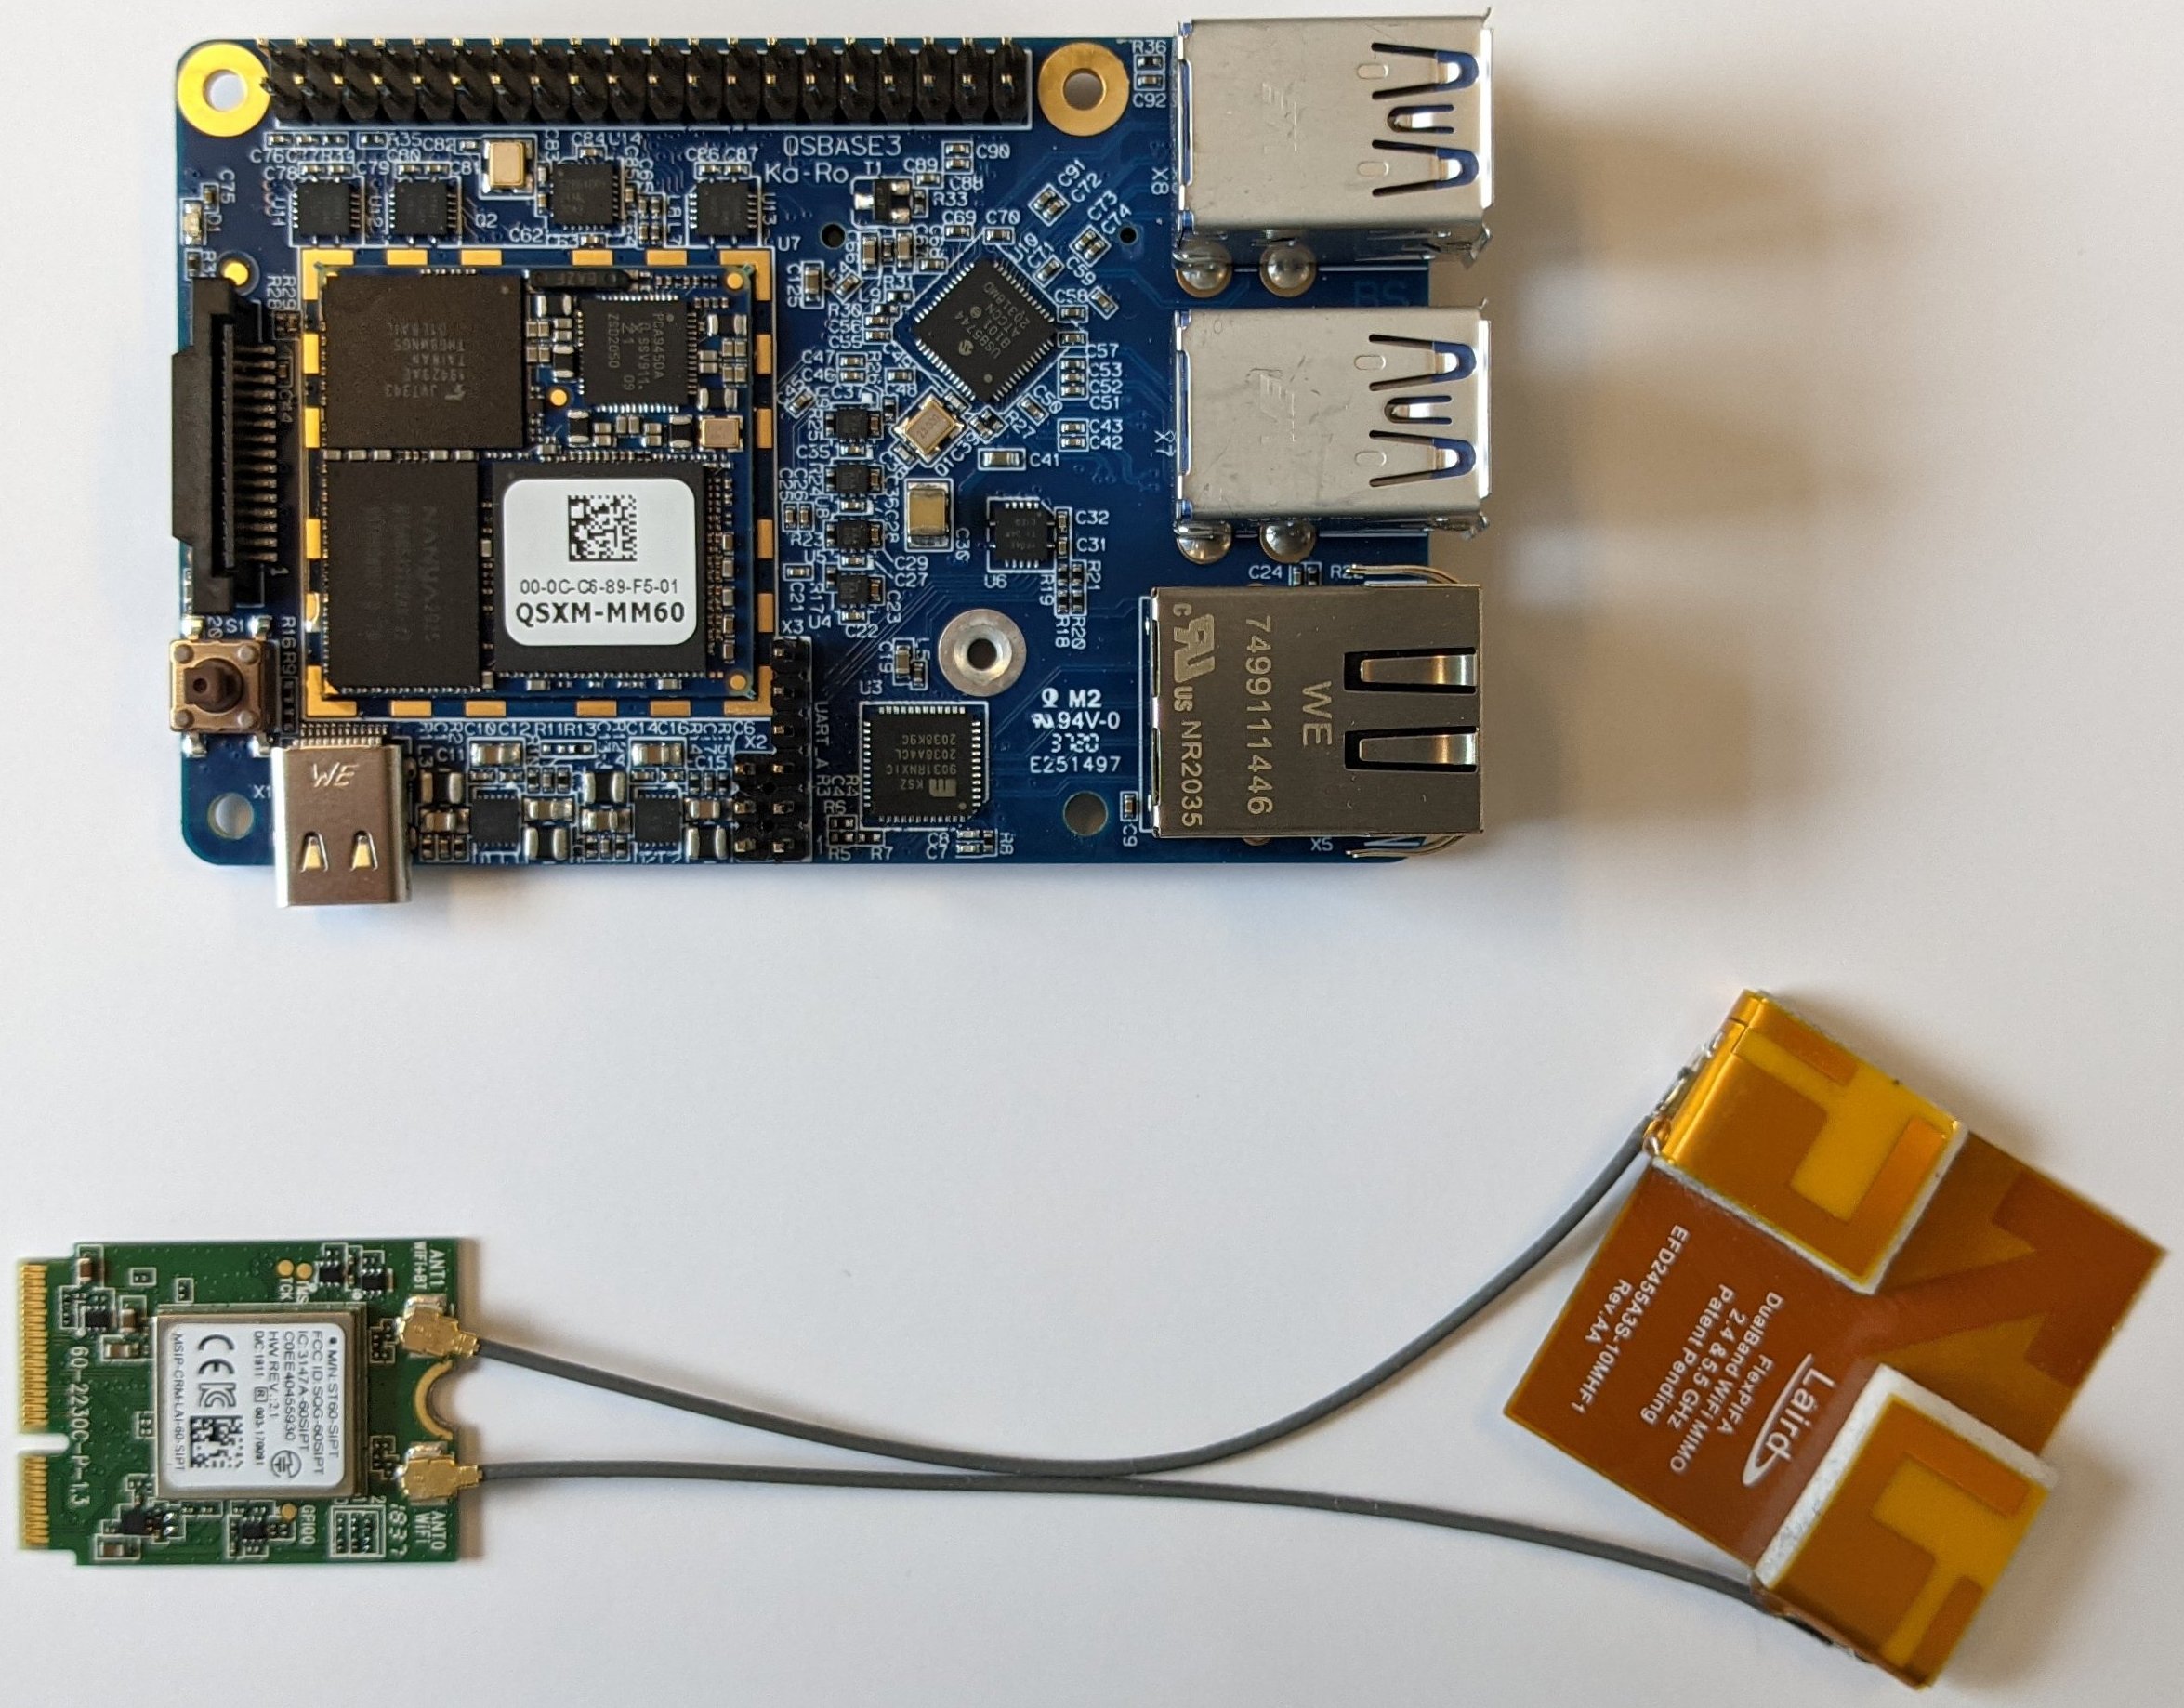
Laird PCIe WiFi Module
Hint
Make sure to order the right Laird Wifi Module card. There are many different versions available.
Part Number: ST60-2230C-P
(Laird 60-2230C-P Series)
It is the only correct working and supported mini-PCIe version on our QSBASE3!
Introduction
You have two options using the Laird WiFi module on QSX(M|P) on QSBASE3:
There are precompiled FlashImages in our Download Area with which you can use it out of the box.
To enable WiFi / BT support in Yocto see local.conf section in NXP Yocto BSP.
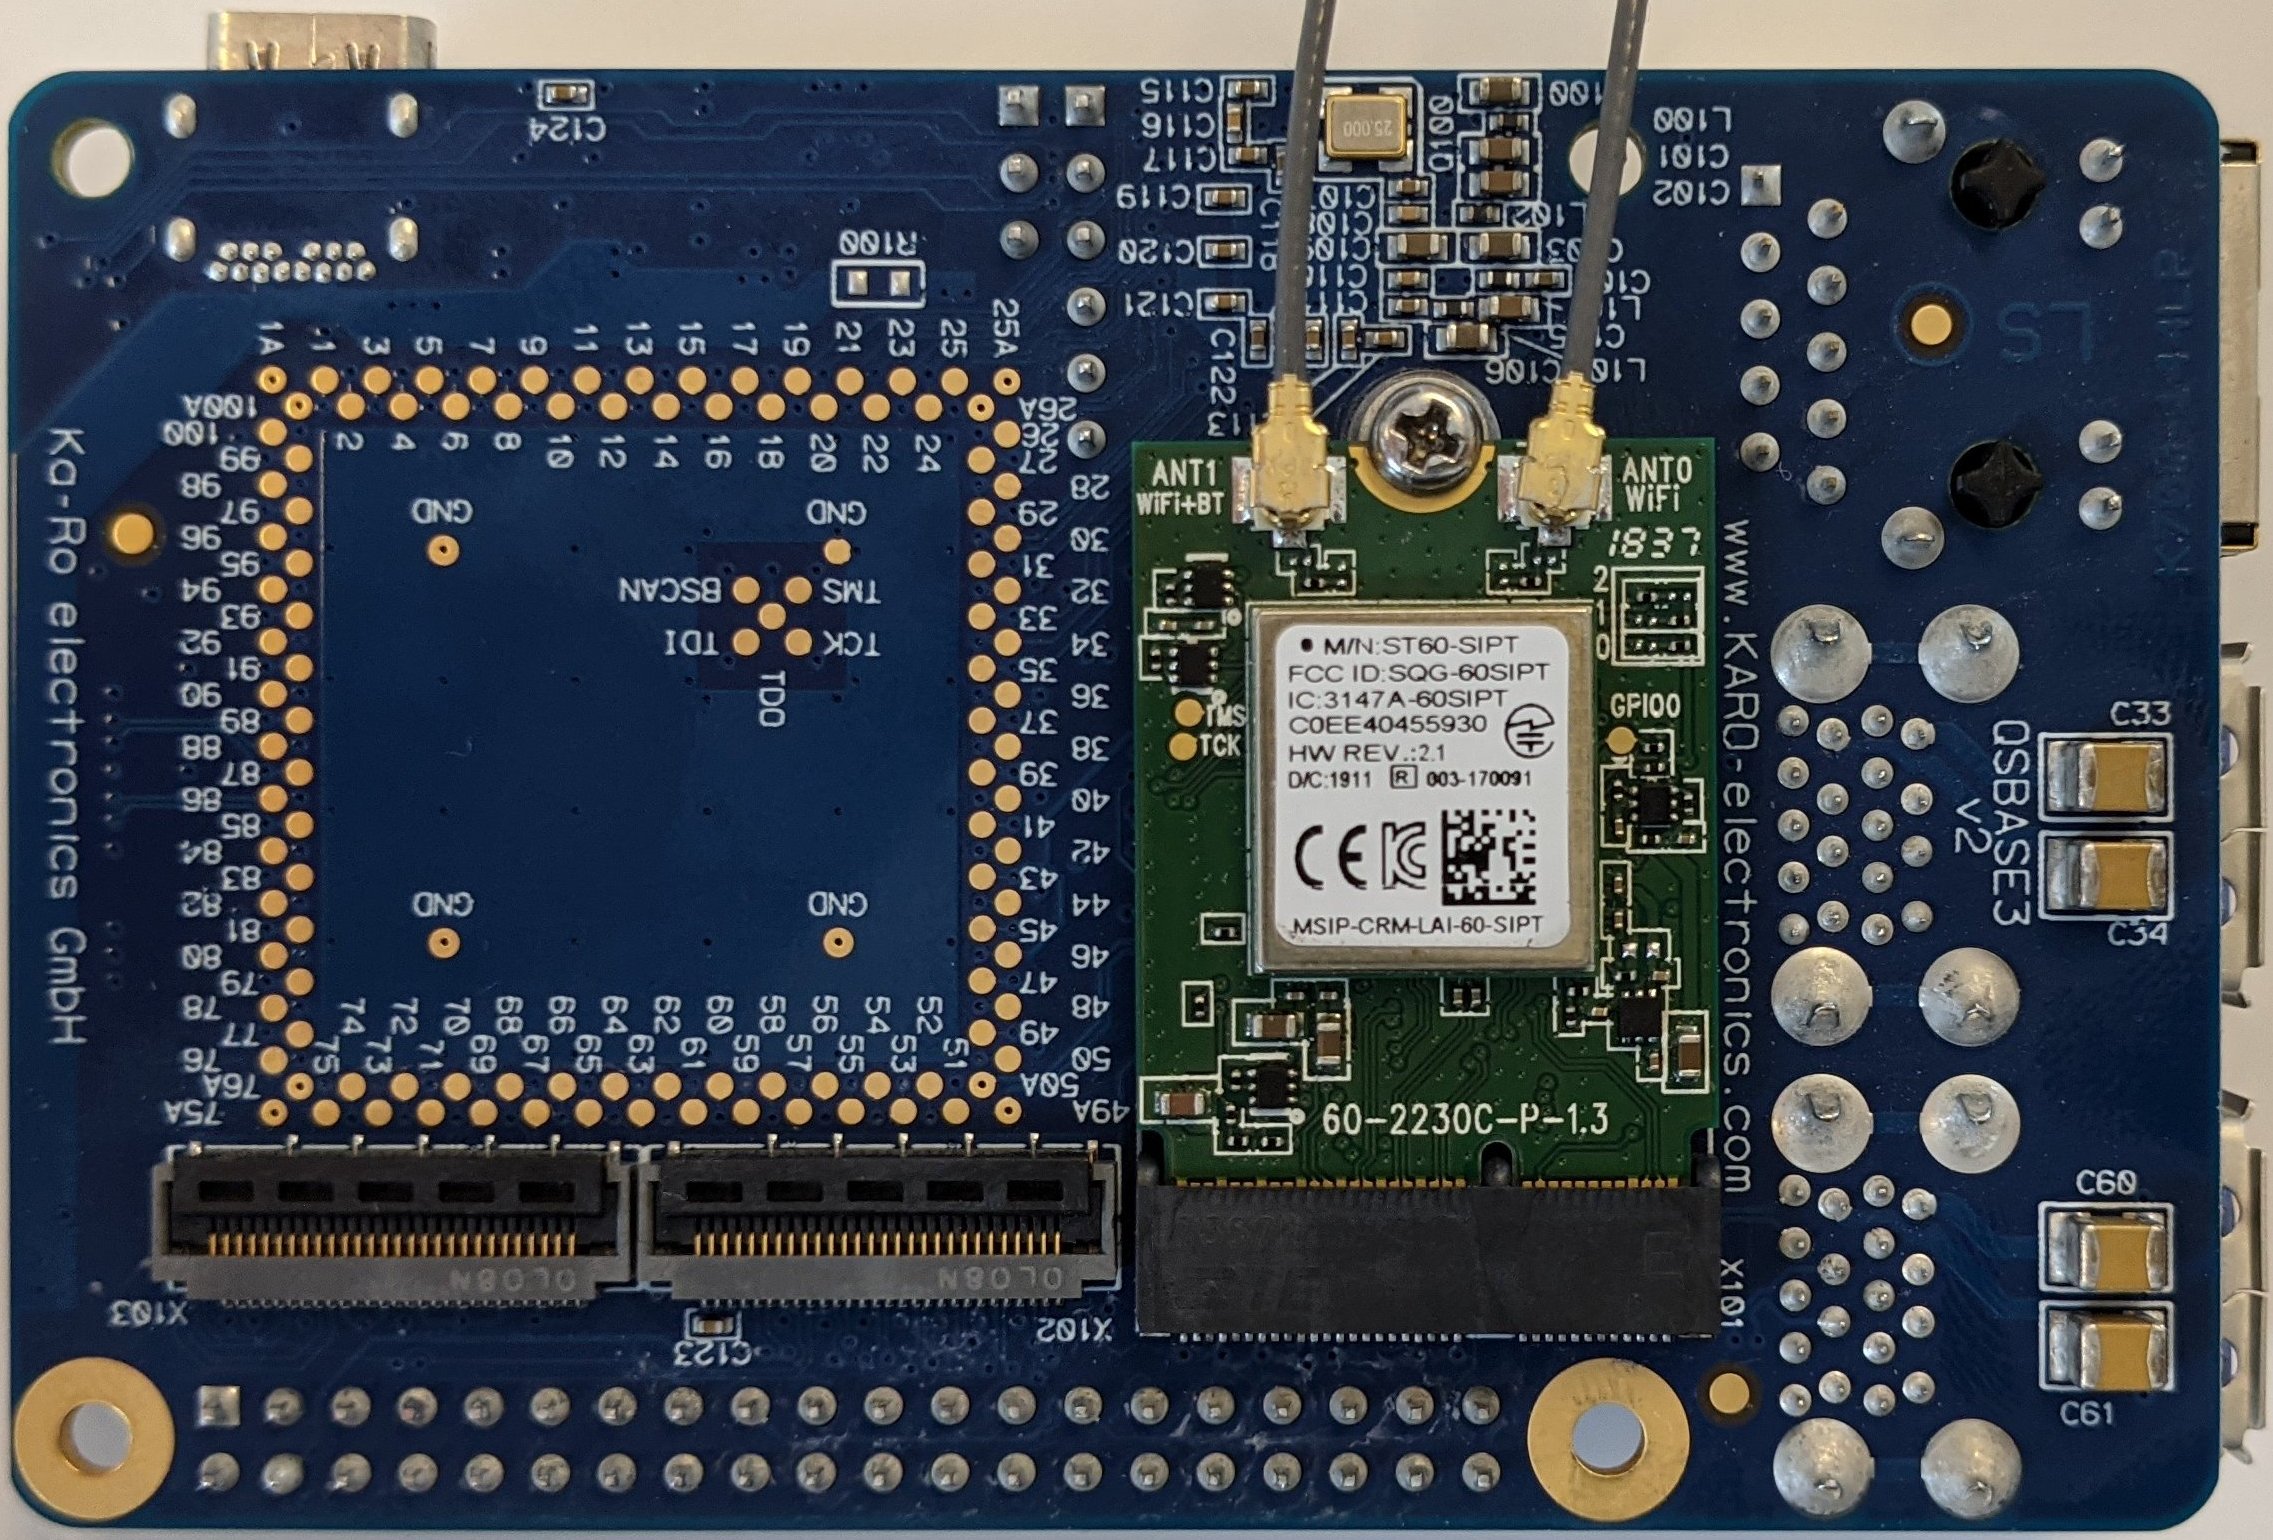
Setup
Mount the Laird PCIe WiFi module to our QSBASE3 baseboard:
Laird Devicetree
When your Yocto build has finished you will get different dtbs in deploy directory.
The following table gives an overview.
Module |
WiFi Supported |
FDT overlays |
|---|---|---|
qsxp-ml81 on qsbase3 |
qsxp-laird |
|
qsxp-mm60 on qsbase3 |
qsxm-laird |
Use the specific dtb file when booting Linux.
Also make sure you load the RootFS corresponding to the Kernel you built, because it includes the WiFi firmware you need!
Ath9k Wifi Module
Ath9k Devicetree
When your Yocto build has finished you will get different dtbs in deploy directory.
The following table gives an overview.
Note
Silex module is just an example and was tested by us. Any other PCIe module with an ath9k wifi chip should also work.
Module |
WiFi Supported |
FDT overlays |
|---|---|---|
tx8m-1620 on lvds-mb |
tx8m-wifi |
|
tx8m-1610 on mipi-mb |
tx8m-wifi |
Make sure, that the appropriate FDT overlay is loaded:
EXAMPLE
setenv overlays_mipi-mb ${overlays_mipi-mb} tx8m-wifi saveenv reset
Also make sure you load the RootFS corresponding to the Kernel you built, because it includes the WiFi firmware you need!
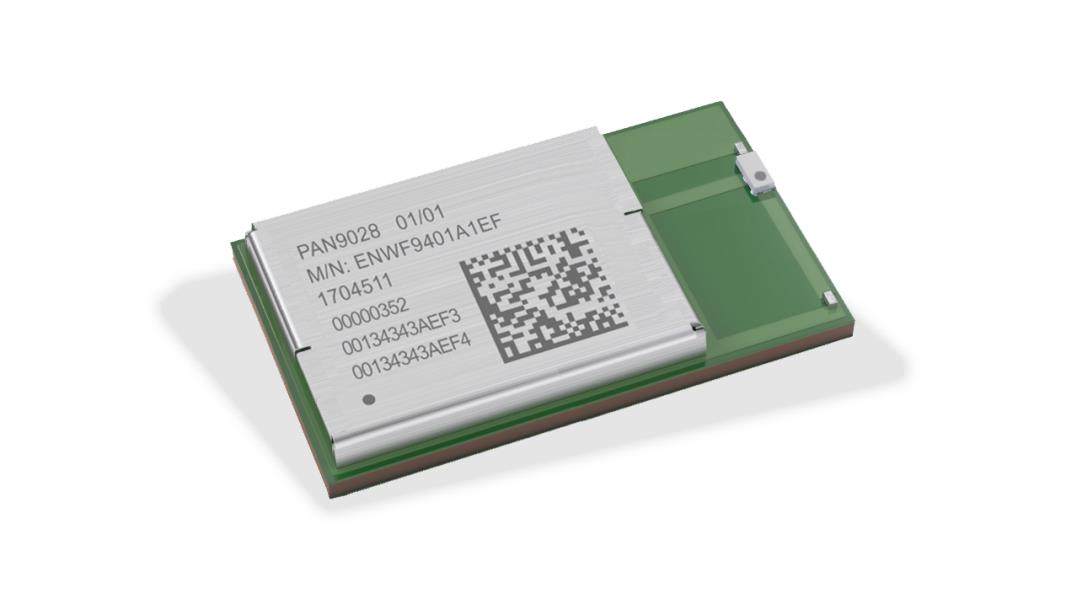
Panasonic PAN9028 SDIO Wi-Fi and Bluetooth Combo module
The Panasonic Industry Europe GmbH - SDIO Wi-Fi 5 Dual Band 2.4/5 GHz and Bluetooth 5.2 Combo module - PAN9028 (ENWF9408AxEF) is a Wi-Fi® and Dual-Mode Bluetooth® radio module based on the NXP® 88W8987 single-chip controller.
Get drivers
The WiFi and Bluetooth drivers for PAN9028 module from NXP have to be enabled in your Yocto BSP.
Add lines to your build-directory conf/local.conf:
(...)
DISTRO_FEATURES:append = " wifi"
MACHINE_FEATURES:append = " nxp-wifi"
(...)
After this, build the image and flash the module. The drivers will be found in /lib/firmware/nxp/.
Note
This is only a decription to use the Wi-Fi functionallity from the module. To read the description of the bluetooth functionallity, we refer to PAN9028.
Use module
To load the required kernel modules execute the following instructions.
Load the mlan kernel module:
modprobe mlan
Load the moal kernel module:
modprobe moal mod_para=nxp/wifi_mod_para.conf
Insert the PAN9028 mSD-U adapter into the micro SD card slot. You should see the following kernel messages
Request firmware: nxp/sdiouart8987_combo_v0.bin
Wlan: FW download over, firmwarelen=579384 downloaded 579384
WLAN FW is active
...
call regulatory_set_wiphy_regd US
ForceRegionRule is set in the on-chip OTP memory
11D: Error setting domain info in FW
Execute the following command to check if the Wi-Fi interfaces have been created
ip addr
(...)
6: mlan0: <BROADCAST,MULTICAST> mtu 1500 qdisc noop state DOWN group default qlen 1000
 link/ether 34:32:e6:2d:ec:25 brd ff:ff:ff:ff:ff:ff
7: uap0: <BROADCAST,MULTICAST> mtu 1500 qdisc noop state DOWN group default qlen 1000
 link/ether 36:32:e6:2d:ed:25 brd ff:ff:ff:ff:ff:ff
(...)
The mlan0 (station) and uap0 (access point) interfaces are now available.
Note
Use the mlan0 interface for connecting WiFi instead of wlan0 interface described in Linux WiFi Setup.
Connecting WiFi
See our Linux WiFi Setup.
Set Up Bluetooth
Note
Steps in this section are only required when using one of the PCIe WiFi/BT modules. With the USB version the hci device is initialized already.
With the devictree the specific UART is enabled to be used as HCI device.
Module |
tty for HCI |
|---|---|
qsxm-mm60 |
|
qsxp-ml81 |
|
Warning
If there’s a getty session running on the desired tty you will have to disable it. Otherwise the tty will not be accessible for hci.
Find all running getty sessions (example):
ps | grep getty
1652 root     /sbin/getty -L 115200 ttymxc1 linux
1653 root     /sbin/getty -L 115200 ttymxc2 linux
1660 root     grep getty
You could disable the desired tty(s) by commenting out the
corresponding lines in /etc/inittab:
(...)
# Serial consoles on the standard serial ports
s0:123:respawn:/sbin/getty -L 115200 ttymxc0 linux
# s1:123:respawn:/sbin/getty -L 115200 ttymxc1 linux
# s2:123:respawn:/sbin/getty -L 115200 ttymxc2 linux
(...)
and sending the ‘init’ process a HUP signal:
kill -HUP 1
Attach the Serial Port as HCI device.
hciattach /dev/ttymxc2 any 115200 flow
Setting TTY to N_HCI line discipline
Device setup complete
Connect Bluetooth
View the attached device.
hciconfig
hci0:   Type: Primary  Bus: UART
     BD Address: C0:EE:40:45:59:33  ACL MTU: 1021:7  SCO MTU: 120:6
     DOWN
     RX bytes:704 acl:0 sco:0 events:39 errors:0
     TX bytes:450 acl:0 sco:0 commands:39 errors:0
Bring the device up.
hciconfig hci0 up
Enable e.g. your phone’s BT and scan Bluetooth.
hcitool scanning
Scanning ...
     55:44:33:11:22:66       elmeg D130
     FF:AA:BB:CC:DD:EE       Pixel 4